
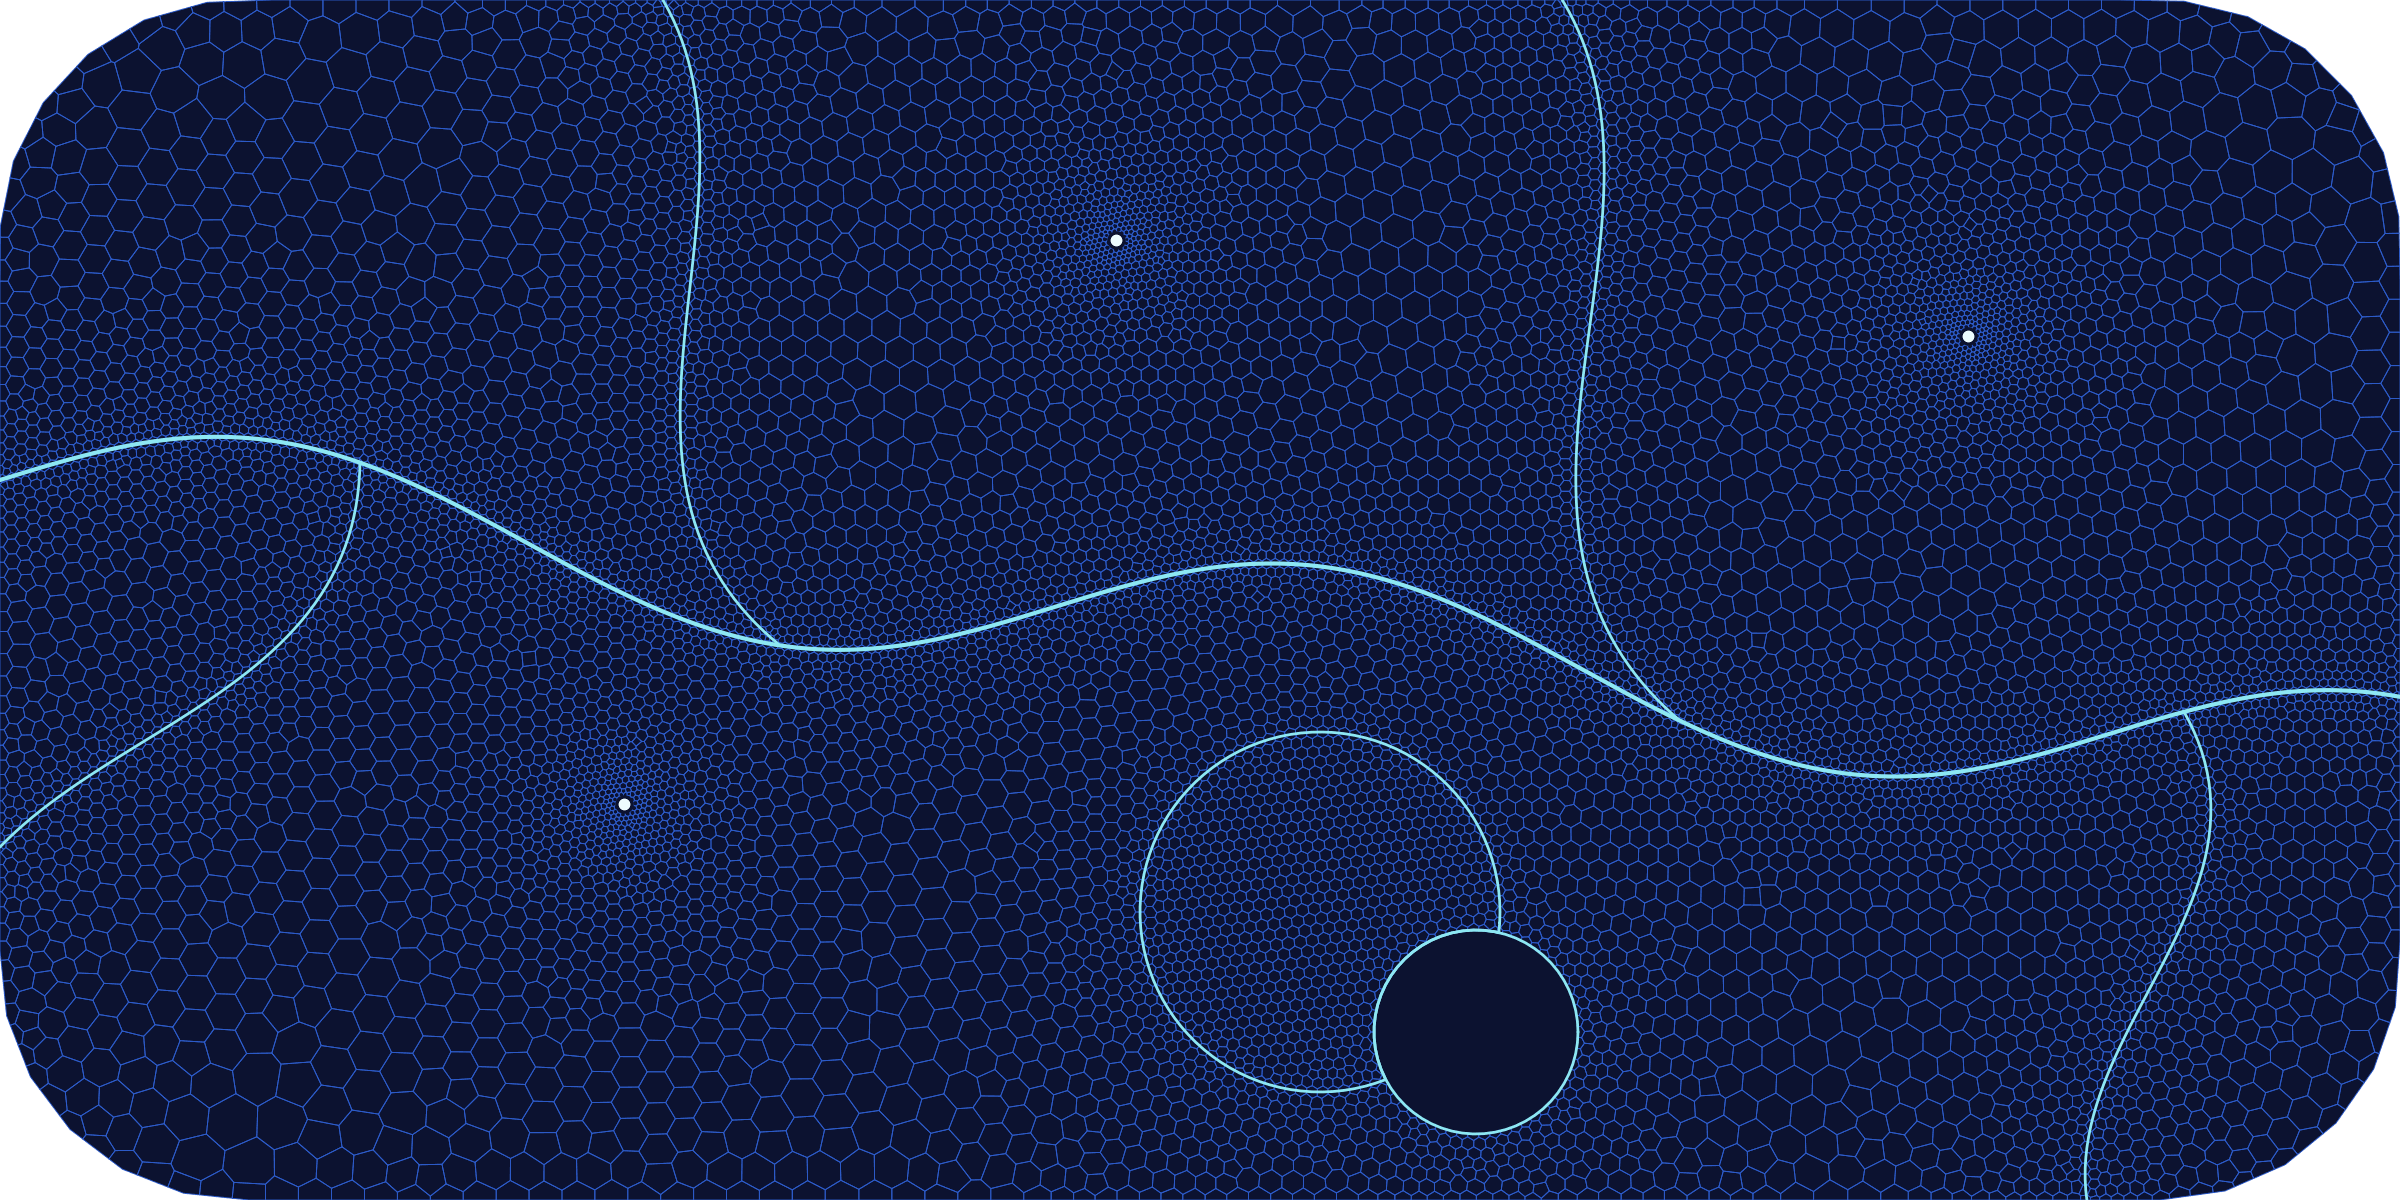


Voronoi mesh generation for MODFLOW 6 using Gmsh and GeoPandas.
vorflow is a Python package for creating 2D unstructured Voronoi cell meshes for groundwater modeling, particularly for MODFLOW 6. It leverages the power of Gmsh for robust triangular meshing and Shapely/GeoPandas for geometric operations.
The process is designed to translate a conceptual model—defined by geometric features like polygons, lines, and points—into a high-quality Voronoi grid suitable for numerical simulation.
The library is built around three main classes that work in sequence:
-
ConceptualMesh: A blueprinting tool to define the model domain and its features. You can add polygons (e.g., model boundary, refinement zones), lines (rivers, faults), and points (wells) and specify the desired mesh density and refinement behavior for each. -
MeshGenerator: This is the engine that generates a triangular mesh based on the blueprint fromConceptualMesh. It usesGmshas its backend to create a quality-conforming Delaunay triangulation. -
VoronoiTessellator: This class takes the triangular mesh fromMeshGeneratorand computes its dual: the Voronoi diagram. The result is a grid of polygonal cells. It includes logic to clip the grid to the domain boundary and enforce barrier features by cutting through cells.
The typical workflow follows these steps:
- Define Geometry: Create
shapelyobjects for your model features (domain boundary, rivers, wells, etc.). - Create a Blueprint: Instantiate
ConceptualMeshand add your geometries, specifying parameters like mesh resolution, refinement distances, and feature types (e.g., barriers). - Generate Mesh: Instantiate
MeshGeneratorand call itsgenerate()method with the processed geometries from the blueprint. This produces a triangular mesh. - Tessellate to Voronoi: Instantiate
VoronoiTessellatorwith the generated mesh and the blueprint. Calling itsgenerate()method produces the finalGeoDataFrameof Voronoi cells. - Export: The resulting
GeoDataFramecan be easily saved to a shapefile or other formats.
vorflow requires Python 3.10 or newer. Install it from PyPI:
pip install vorflowThe examples and notebooks also need Matplotlib, which the examples extra
installs:
pip install "vorflow[examples]"On Linux, the gmsh wheel from PyPI needs the system GLU library (for example
sudo apt-get install libglu1-mesa on Debian/Ubuntu). Alternatively, install
the geospatial stack and Gmsh from conda-forge first, then pip install vorflow
into that environment.
To try the latest unreleased changes, install from GitHub:
pip install "git+https://github.com/rhugman/vorflow.git"Release candidates are published to TestPyPI before each release. To test one (dependencies still come from PyPI):
pip install --pre --index-url https://test.pypi.org/simple/ \
--extra-index-url https://pypi.org/simple/ vorflowClone the repository and install it in editable mode:
git clone https://github.com/rhugman/vorflow.git
cd vorflow
pip install -e ".[dev]"
For plotting examples and notebooks without all development tools:
pip install -e ".[examples]"Alternatively, create the Conda development environment from
etc/environment.yml,
which installs the package in editable mode with the dev extra:
micromamba env create -f etc/environment.ymlHere is a simple example of how to generate a non-empty Voronoi grid:
The complete runnable version is examples/basic_usage.py.
from shapely.geometry import LineString, Point, box

from vorflow import ConceptualMesh, MeshGenerator, VoronoiTessellator

domain = box(0, 0, 200, 200)
well_point = Point(25, 25)
fault_line = LineString([(100, 0), (100, 150)])

blueprint = ConceptualMesh(crs="EPSG:3857")
blueprint.add_polygon(domain, zone_id=1)
blueprint.add_point(
    well_point,
    point_id="Well-A",
    resolution=2,
    growth_factor=1.2,
)
blueprint.add_line(
    fault_line,
    line_id="Fault-1",
    resolution=1,
    is_barrier=True,
)

clean_polys, clean_lines, clean_pts = blueprint.generate()

mesher = MeshGenerator(background_lc=100)
mesher.generate(clean_polys, clean_lines, clean_pts)

tessellator = VoronoiTessellator(mesher, blueprint, clip_to_boundary=True)
grid_gdf = tessellator.generate()
if grid_gdf.empty:
raise RuntimeError("Basic Usage generated an empty Voronoi grid")GeoPandas writes formats such as Shapefile and GeoPackage through an I/O engine such as Pyogrio or Fiona. Install one of those engines before calling:
grid_gdf.to_file("mf6_grid.gpkg", driver="GPKG")Feature resolutions use GeometricGrowthField by default. Its
growth_factor is an upper target for neighboring characteristic edge-length
growth, not cell area growth and not an exact guarantee for every generated
neighbor pair. The default growth_factor=1.2 uses the transparent spatial law
h(d) = feature_lc + (growth_factor - 1) * d.
For the continuous-metric convention, pass an explicit
GeometricGrowthField(growth_model="continuous_metric"); this uses the gentler
gradient log(growth_factor). In normal MeshGenerator use, the global
background field caps either result at background_lc.
A polygon added with embed=False is a refinement region: the mesh is held
at its resolution throughout its interior and grows away from its boundary
as for an embedded polygon, but the polygon adds no mesh edges and is not a
zone.
blueprint.add_polygon(refine_area, zone_id="refine", resolution=2, embed=False)Coordinate systems: always work in a projected CRS (e.g. UTM or a national grid) so mesh sizes are in real length units (meters/feet). Geographic coordinates (lat/lon degrees, e.g. EPSG:4326) produce physically meaningless MODFLOW grids — reproject your data first with
GeoDataFrame.to_crs().
A point feature is always the generator of its own cell, but the cell is
usually an irregular polygon and the point is not its centroid. With
hex_ring=True, six fixed nodes are placed at radius resolution around the
point, so its cell is a regular hexagon centred on it (apothem
resolution / 2):
blueprint.add_point(well_point, point_id="Well-A", resolution=2, hex_ring=True)The ring adds about 40 cells per point (growth_factor=1.2). It is dropped,
with a UserWarning, when a polygon boundary, line or other point lies closer
than 2 x resolution, or when a finer size field reaches the ring (below
0.9 x resolution, e.g. inside a zone with a finer resolution than the
point's). After meshing, MeshGenerator.diagnostics["hex_rings"] records
whether each ring came out intact.
lloyd_iterations moves the free generators (interior nodes of the zones)
towards the centroids of their cells before the grid is built. The centroids
are weighted by the local mesh size (density h^-4), so the grading is kept;
boundary, zone-edge, point and line nodes stay fixed.
tessellator = VoronoiTessellator(mesher, blueprint, lloyd_iterations=20)
grid_gdf = tessellator.generate()
print(tessellator.lloyd_report)  # passes run, last residual, rejected moves
The mesh generator must have run before the tessellator is constructed. On a
2 km model with four refined wells, 20 passes lower the p95
centroid-to-centroid ortho_error from 4.1 to 2.7 degrees for about 0.4 s of
extra runtime; the grid is then no longer the exact dual of
MeshGenerator.get_element_grid().
The examples/
folder contains runnable scripts and notebooks
covering field-based refinement, mesh quality diagnostics, structured quad
buffers, active-domain workflows, and triangular element-grid export.
examples/point_centring_demo.ipynb
compares Gmsh smoothing, hex_ring and lloyd_iterations for centring cells
around wells.
See ROADMAP.md for planned and completed milestones.
MIT — see LICENSE.